
Transfer ETH from Crypto to MetaMask: A Comprehensive Guide
Managing your Ethereum (ETH) assets is essential, especially if you’re looking to interact with decentralized applications (dApps) or participate in the DeFi ecosystem. One of the most popular ways to store and manage your ETH is through MetaMask, a widely-used cryptocurrency wallet. In this guide, we’ll walk you through the process of transferring ETH from your crypto wallet to MetaMask, ensuring a smooth and secure transaction.
Understanding Ethereum and MetaMask
Ethereum is a blockchain platform that enables the creation of decentralized applications and smart contracts. ETH is the native cryptocurrency of the Ethereum network, used to pay for transaction fees and as a medium of exchange.

MetaMask is a browser extension that allows you to interact with the Ethereum network. It serves as a gateway to decentralized applications, enabling users to store, send, and receive ETH and other ERC-20 tokens.
Choosing a Crypto Wallet
Before you can transfer ETH to MetaMask, you need to have a crypto wallet. There are several types of wallets to choose from, including hardware wallets, software wallets, and web wallets. For this guide, we’ll focus on software wallets, as they are the most convenient for everyday use.
Some popular software wallets for Ethereum include:
| Wallet Name | Description |
|---|---|
| MyEtherWallet | A web-based wallet that allows you to create a wallet and manage your ETH without installing any software. |
| Exodus | A user-friendly desktop and mobile wallet that supports multiple cryptocurrencies, including ETH. |
| Trust Wallet | A mobile wallet that supports a wide range of cryptocurrencies and allows you to interact with dApps directly from the app. |
Creating a MetaMask Account
Once you have chosen a crypto wallet, the next step is to create a MetaMask account. Follow these steps to set up your MetaMask wallet:
- Visit the MetaMask website and click on the “Get MetaMask” button.
- Select the browser extension option and click “Install MetaMask for Firefox” or “Install MetaMask for Chrome” (depending on your browser).
- After installing the extension, open your browser and navigate to the MetaMask website again.
- Click on the MetaMask icon in your browser’s toolbar and click “Create a wallet.” Follow the on-screen instructions to create a new wallet.
- Set a strong password for your wallet and write down your seed phrase. This phrase is crucial for recovering your wallet if you lose access to it.
Transferring ETH from Your Crypto Wallet to MetaMask
Now that you have a MetaMask wallet, it’s time to transfer ETH from your crypto wallet to your MetaMask account. Here’s how to do it:
- Open your crypto wallet and navigate to the ETH balance section.
- Select the amount of ETH you want to transfer to your MetaMask wallet.
- Enter your MetaMask wallet address as the recipient. You can find your wallet address by clicking on the MetaMask icon in your browser’s toolbar and selecting “Copy to clipboard.” Paste the address into your crypto wallet’s recipient field.
- Review the transaction details, including the gas fee and network fee. Make sure the amount and recipient address are correct.
- Click “Send” to initiate the transaction. You may need to confirm the transaction on your crypto wallet’s interface.
- Wait for the transaction to be confirmed on the Ethereum network. This process can take a few minutes to several hours, depending on the network congestion.
Verifying the Transfer
Once the transaction is confirmed, you can verify the transfer by checking your MetaMask wallet balance. Follow these steps:
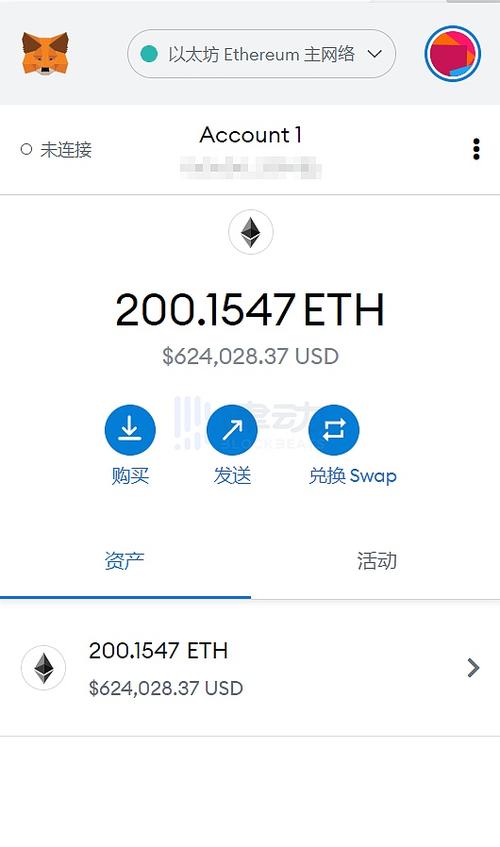
- Open your MetaMask wallet and click on the “Account” tab.
- Look for the ETH balance. It should now reflect the amount you transferred from your crypto wallet.
Conclusion
Transferring ETH from your crypto wallet to MetaMask is a straightforward process that